Area 8: The U.S. During the First World War (1910s-1920s)
Background for teachers and students:
By the outbreak of World War I, the medical field had advanced tremendously over previous conflicts. European armies and the United States Army had provided comprehensive first aid training to soldiers, significantly improved medical equipment and significantly enhanced battlefield care for wounded. These improvements gave doctors, medics and nurses the ability to save countless lives. Often, however, wounded soldiers were left scarred, maimed and disfigured. Although wounds that at one time would have been fatal could now be healed, there was no cosmetic surgery to repair the maimed soldiers’ appearance. The English physician Sir Harold Gillies (1882-1960) set out to change that.
Gillies pioneered a cosmetic surgery technique still used today, wherein he would use undamaged skin tissue from the patient, form it into a tubule—a small tube of flesh—and attach it near the wound. Eventually, this tubule would grow where it was attached so that it could be “swung” down over the damaged area and eventually be used to regrow the affected tissue. This process took years, and many wounds were too severe for this process.
In addition, the sheer number of patients requiring some form of cosmetic help was overwhelming for Gillies and his clinic. When he first opened his clinic he received more than 2,000 patients in a single day—all from the Battle of the Somme in the summer of 1916.
Because of his significant medical contributions and accomplishments, Sir Harold Gillies is widely considered to be the father of plastic surgery.
The techniques that Sir Harold Gillies pioneered have made a major difference in the lives of tens of thousands of wounded soldiers since 1917. Some of his treatments are still used today to aid wounded soldiers returning from current deployments to Iraq and Afghanistan. Because the Great War—now better known as World War I—raged in Europe from 1914 to 1917 before the United States entered the war, most of the wounded men helped by Gillies were French and British, rather than American.
The vast numbers of disfigured men returning home from the war were devastating. In trench warfare, soldiers’ helmets would protect the tops of their heads and their bodies were protected inside the trenches, but their faces were often left unprotected.
Without the necessary reparative surgeries, many of these men were unable to go out in public without causing a scene, were unable to work with the public and some even refused to return to their families, ashamed of how the war had scarred them. The British government even considered establishing “wounded colonies”—similar to leper colonies—where these men could live isolated among themselves away from the public.
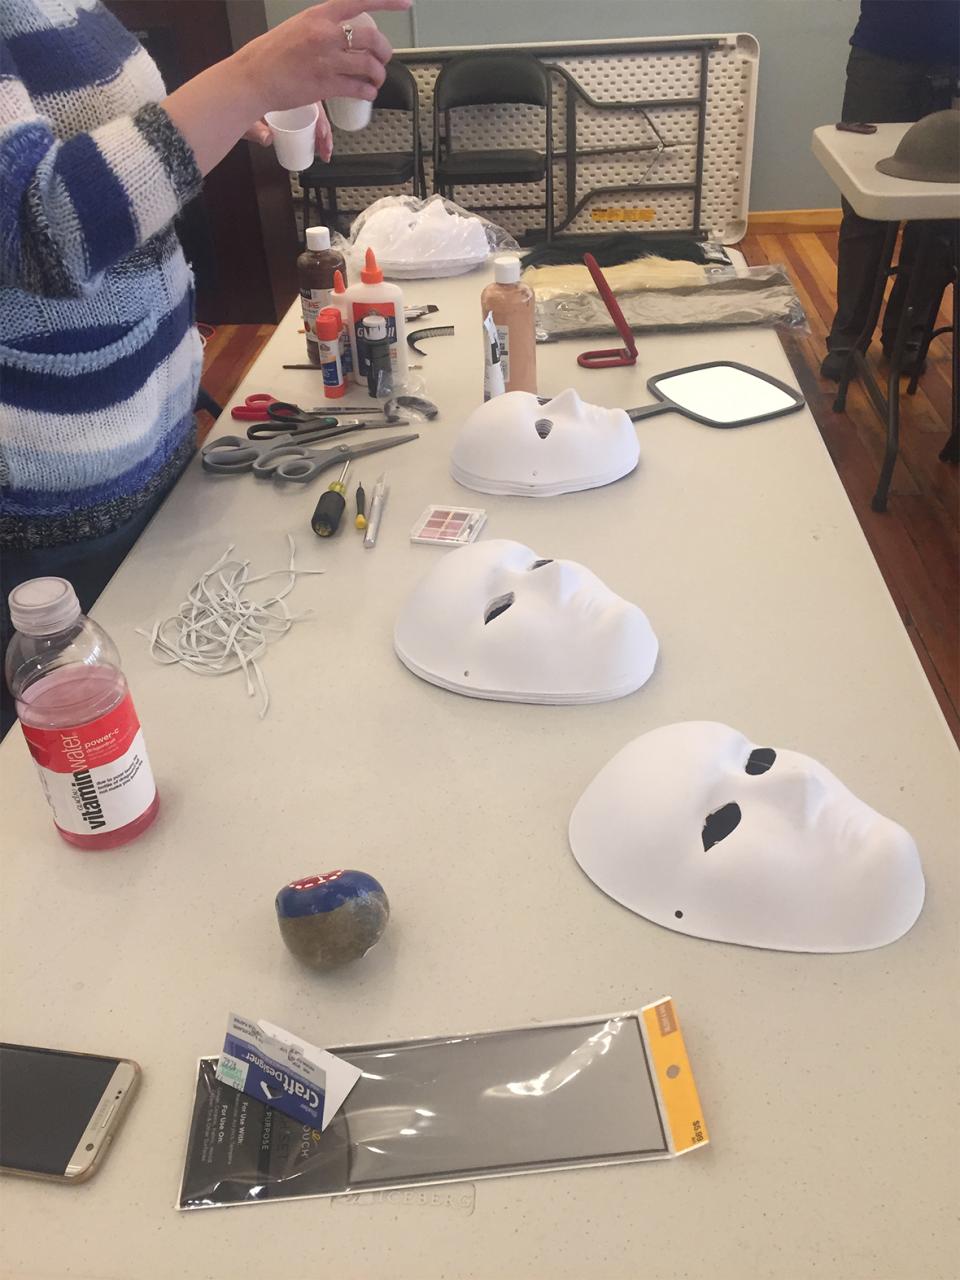
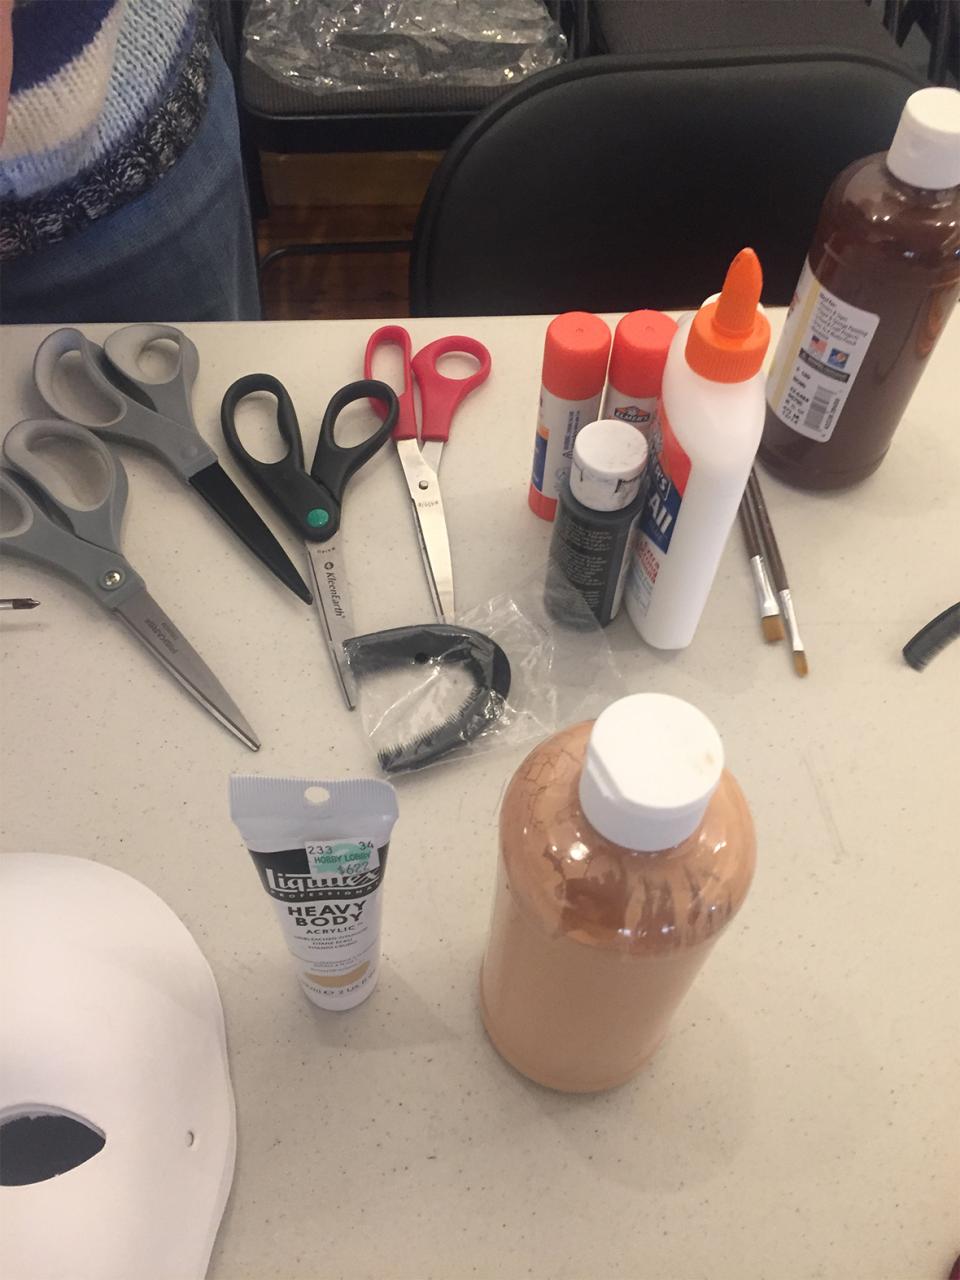
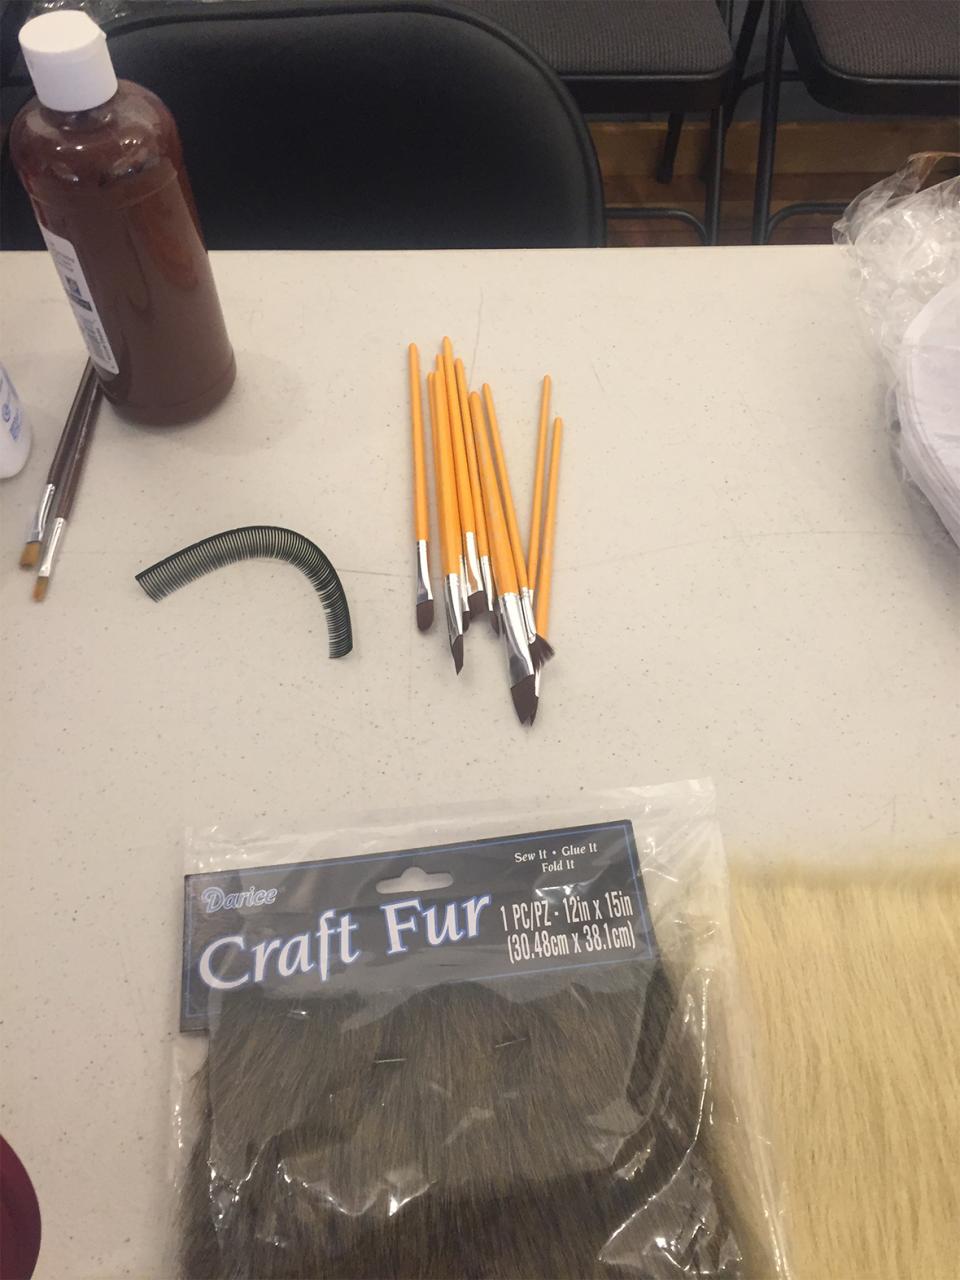
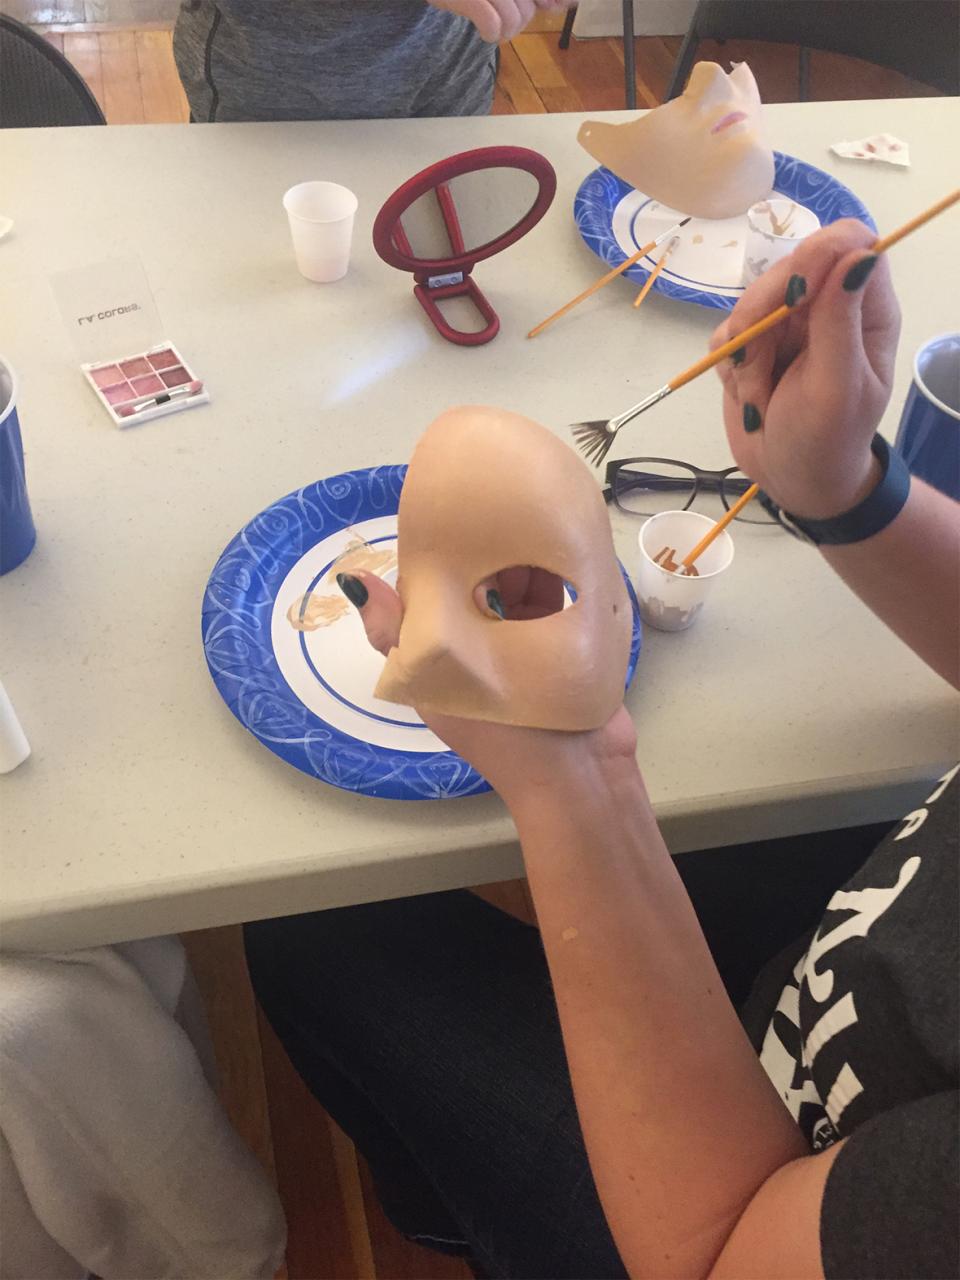
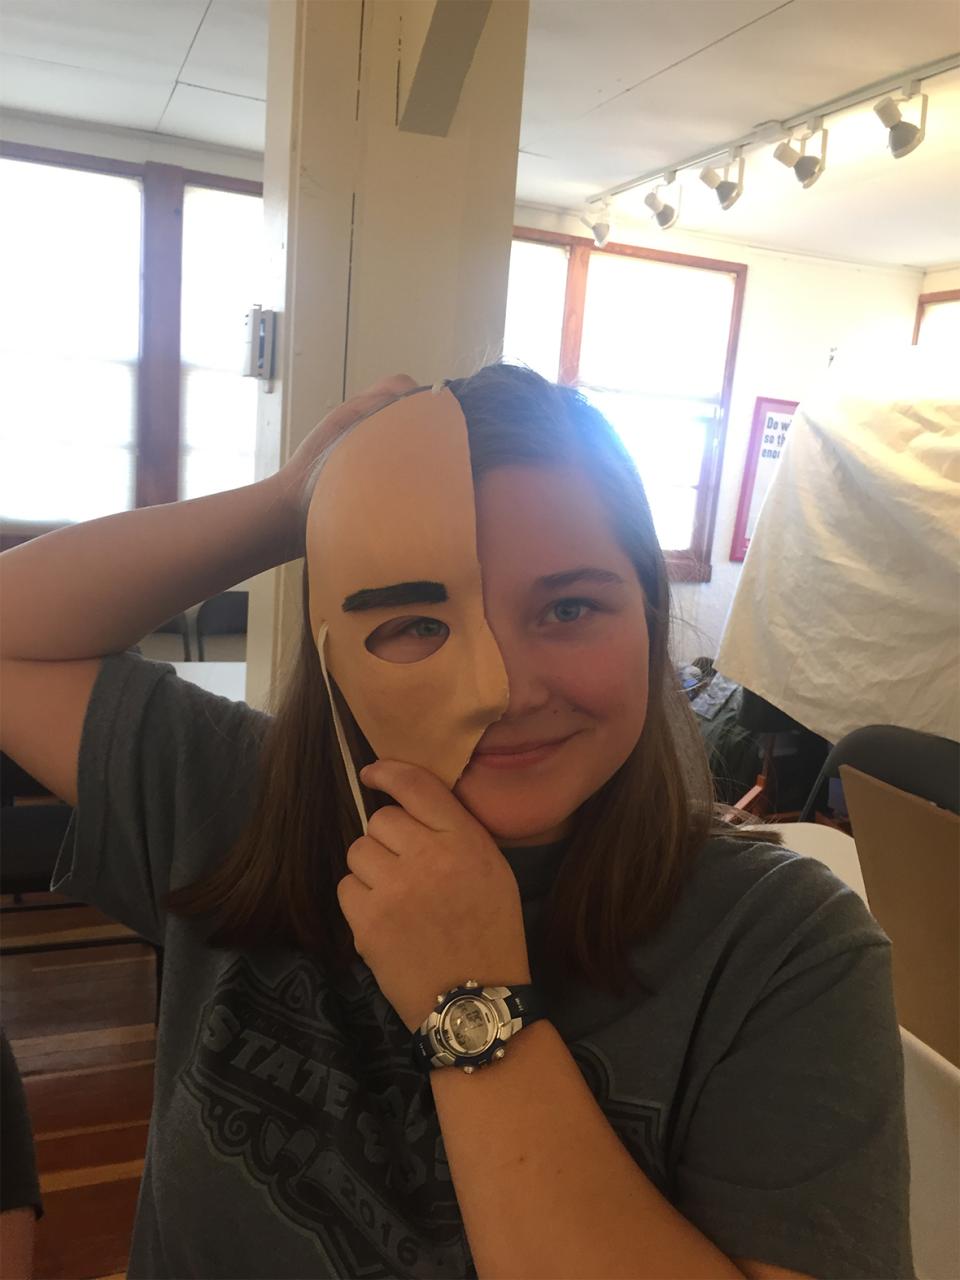
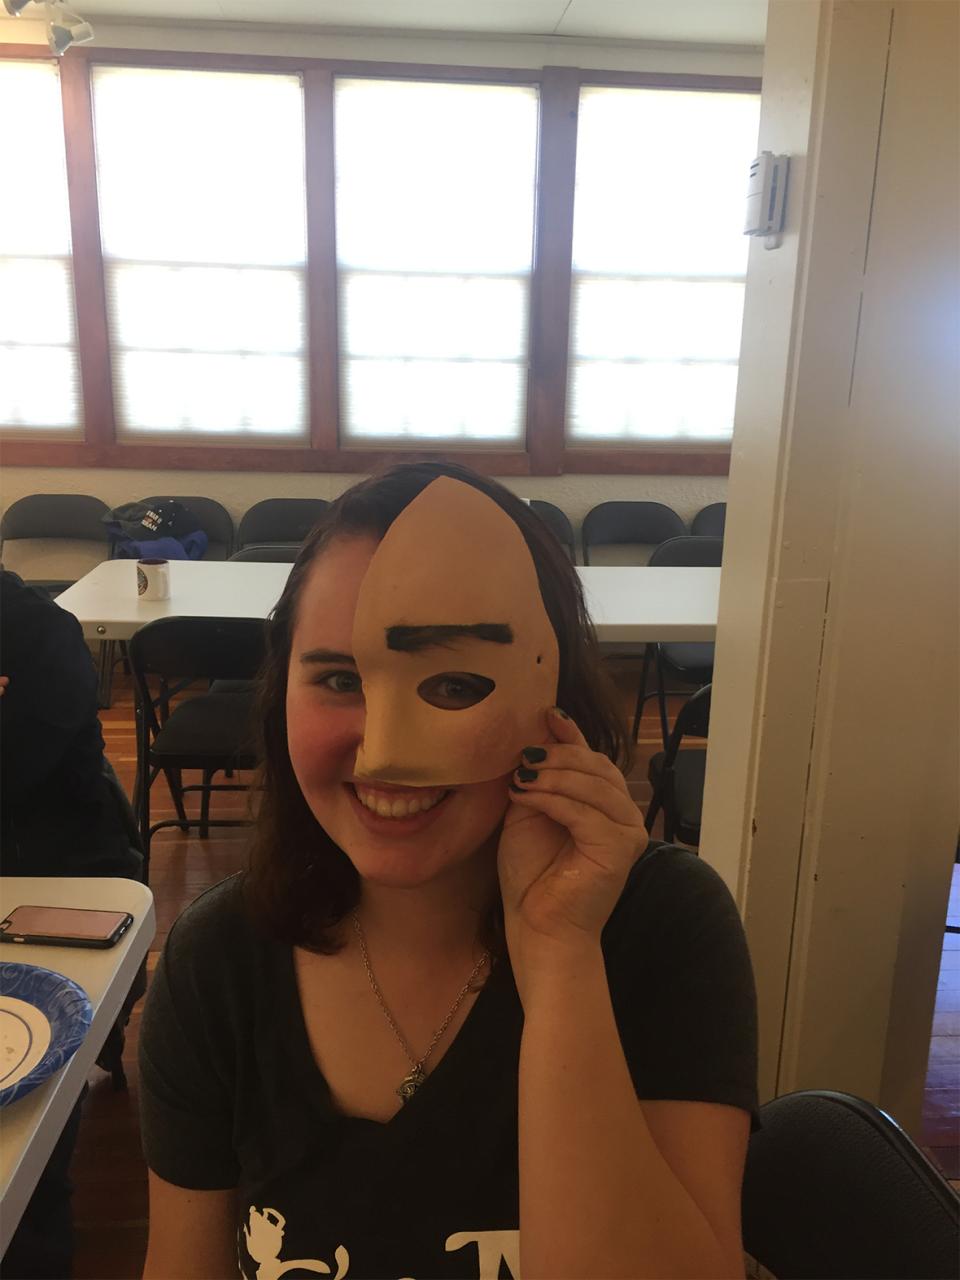
Word of this terrible situation eventually reached Anna Coleman Ladd (1878-1939), an American artist and socialite. Prior to the war Ladd was a well-established sculptor and portrait painter. Moved by the stories of wounded soldiers, she set up a studio in Paris, France, with the assistance of the Red Cross. There she fashioned thin copper masks, personally fitted to each soldier, that were meticulously painted by hand to be as realistic as possible. The masks were held to their faces either through spectacles or strings that slid over the ears.
The video below shows Anna Coleman Ladd in her Paris studio working on masks for disfigured French soldiers.
Ladd’s masks helped those unable to obtain corrective surgery, as well as those who had the surgery but were still deeply disfigured. For her work in France, Ladd was awarded the Légion d’Honneur Croix de Chevalier and the Serbian Order of Saint Sava. After the war, Ladd returned to her home in Manchester, Mass., and to her sculpting work. She received various commissions for World War I memorials by the American Legion, some of which are still on display in that area.
Ladd’s pioneering work allowed many men who had been maimed by the war to return to a somewhat normal civilian life without feeling isolated or forced to endure cruel stares by the public. She was able to return to them some peace of mind and a sense of normalcy. Surviving masks are exceedingly rare today. This is because the men often wore them until they died—and were buried in them. As the years went by the masks would become scratched and some of the paint would flake off. But these former soldiers never got rid of their masks from Anna Coleman Ladd. These treasured masks had, in some measure, returned a sense of normalcy to these wounded veterans.

